Facts and Figures

Operator Transport for NSW
System Type Commuter
Year Opened  
# of Lines 9
# of Cars  
Mileage 505 miles
Stations 175
Gauge Standard
Power Overhead
Fare Media Opal Card
Data Date 2019
1st Visit 3/2019
Last Visit 3/2019
% Rode 30%

Oceania > Sydney
Sydney Trains

Trains

Sydney's commuter network is very impressive. The system uses all double-decker trains of various types. Trains run very frequent with local and express services. Most of the lines converge at Central Station.

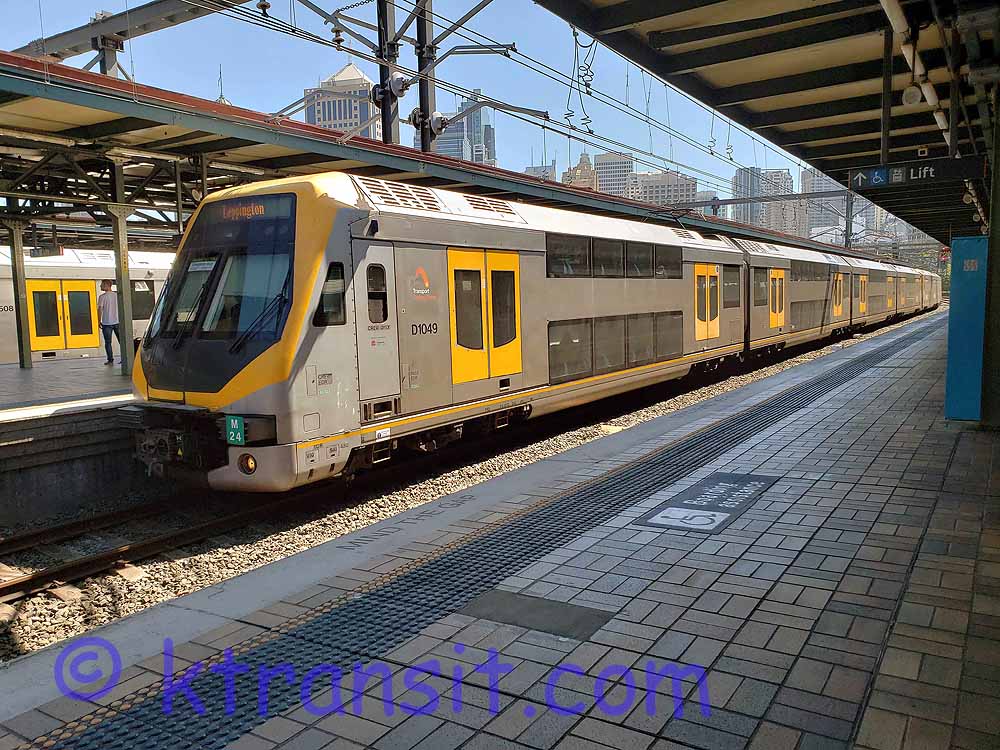
Then there is the City Circle. Some of the commuter lines enter basically a city center subway to circulate passengers closer to jobs and attractions. The City circle opened in sections starting in 1926, with the loop being completed in 1958 with the opening of Circular Quay station. Teh system was designed for more lines then it currently handles. The line to Bondi Junction only use one stop of the circle. The North Sydney lines use 2 stops of the circle. Three of the fine stations I love. Circular Quay for its views of the harbour. St. James with is history displays, and was designed for 4 tracks but only 2 trackways are used today. Then there is museum whcih is very art deco with no columns. A must visit!

Updated Station Routes Served Transfers Photos New
City Circle 130
Central T1, T2, T3, T4, T8, T9 Light Rail,
Regional lines
47 47
Town Hall T1, T2, T3, T4, T8, T9 Light Rail 10 10
Wynyard T1, T2, T3, T8, T9   3 3
Circular Quay T2, T3, T8 Ferries, Light Rail 14 14
St. James T2, T3, T8   38 38
Museum T2, T3, T8   18 18
Rest of Network in Alphabetical Order
Airport: Domestic Terminal T8 8 8
Airport: International Terminal T8   6 6
Blacktown T1, T5 NSW Trainlink 7 7
Bondi Junction T4   8 8
Burwood T2, T9   10 10
Chatswood T1, T9 Metro 7 7
Dulwich Hill T3 Light Rail 4 4
Epping T9 Metro, Trainlink 6 6
Hornsby T1, T9 NSW Trainlink 6 6
Katoomba NSW Trainlink   22 22
Kings Cross T4   6 6
Lewisham T2   4 4
Loftus T4   5 5
Milsons Point T1, T9   19 19
North Sydney T1, T9   6 6
Redfern T1, T2, T3, T4, T8, T9   20 20
Strathfield T1, T2, T9   6 6
Sunderland T4   8 8
Sydney Harbour Bridge (no stop) T1, T9   22 22

The Fine Print:

All photos on this website are by Mark Kavanagh. Any and all material contained in this web site may not be reproduced, in any form, without the expressed written consent of Mark Kavanagh, © 1999-2019 all rights reserved. Larger and higher resolution images for all photos are available from the webmaster.

All Logos, symbols for airlines, railroads and transit systems are trademarks and/or copyrighted by the owning airline/railroad/transit system. Ktransit.com is not affiliated with ANY airline, railroad or transit system mentioned on this website.

Become a sponsor of ktransit.com. Put your ad on a specific city for a nominal annual fee. 
 Contact Us for more information.